
There are many things in life that give me joy - one of which is when a new technology or idea can really slot into a bigger picture, be really useful and connect meaningfully to a longer legacy, even if that's just in a small way. Recently, this manifested at our home in the form of 3D printed bee spacers.
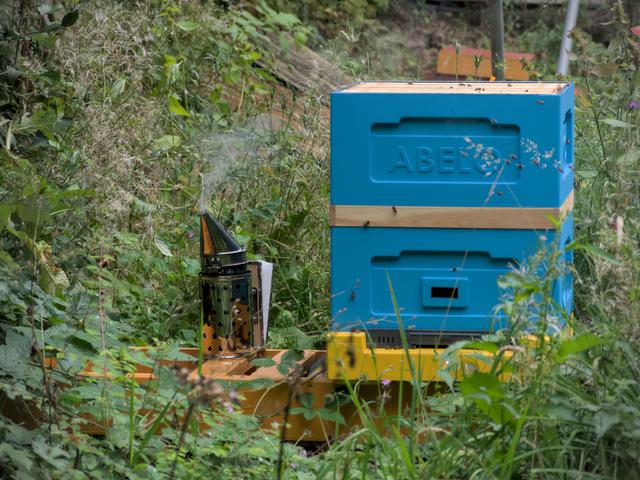
We have our first hive down at the bottom of our garden, next to the rather ancient beech hedge. They've gotten quite strong - about 33Kg worth of hive at the moment. Hopefully, they have enough stores to get through the winter. The big concern beekeepers have at this time, it seems, is that the bees have enough honey to eat in order to keep warm. Makes sense right? No flower out in winter and here in Scotland, it can get pretty cold. Our hive has three boxes - the brood box at the bottom and two 'supers'. These supers hold the stores - all the tasty honey. They are a little deeper than the brood box, and are separated from the brood box with a mesh that allows workers to pass through not the queen. This keeps larvae out of the supers where the honey is.
There is the concept of Bee Space. Bees are kind of robotic in a way - depending on the size of a gap they will either make comb, fill it with propolis or create a kind of passageway. A chap called Langstroth in the 1800s figured out the perfect spacing to allow bees to move up and down frames, but not to join them together. Frames these days have a little wooden nub that keeps the just the right distance apart for maximum packing but no sticking. This is great for inspection and honey harvesting. A simple and elegant solution from a keen observation.
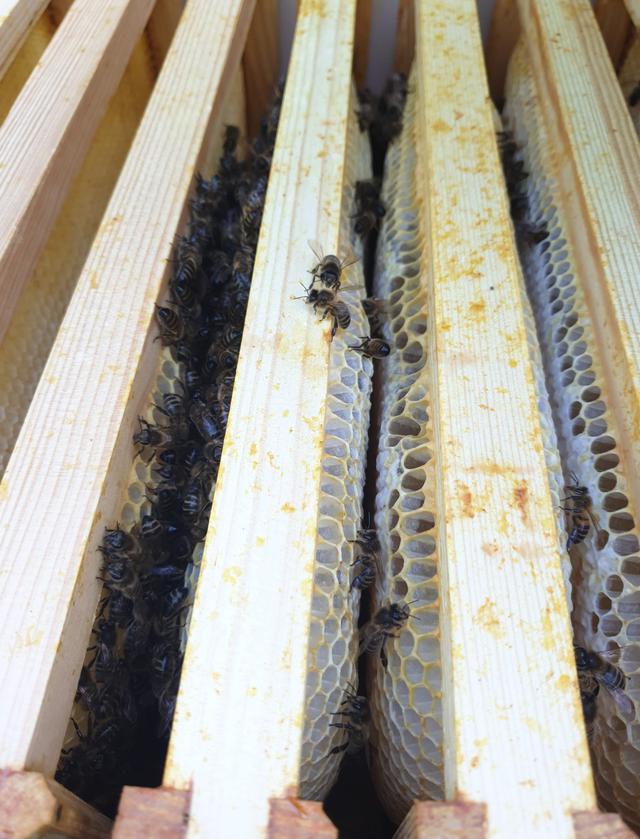
All that said, it is possible to extend the distance of the frames in the super to get a little bit more honey per frame. The bees might bridge these spaces but that's okay if there is no brood. Given that we don't have quite enough frames made up for the top-most box, it made sense to space them apart evenly.
The edge of our polysterene box has a ridge to hold the tops of the frames, but it's not super deep; we can't use a bulky spacer as the boxes and lid won't fit back together. It's possible to make a spacer out of wood but I figured a plastic version might be better - a little more flexible, possibly stronger but definitely a little shallower. I'm fortunate enough to have a 3D printer at home. All I need to do is design the spacer, send the file to my printer and set it going.
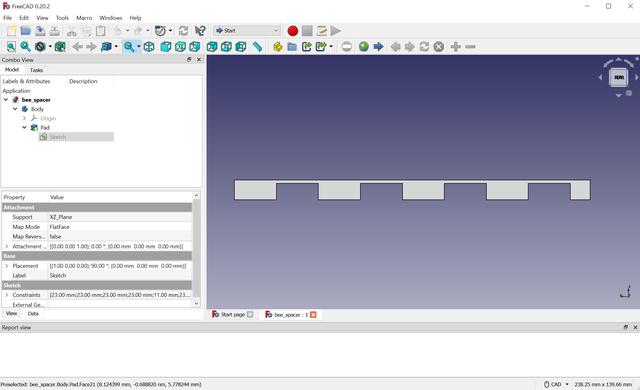
The first thing is to design the spacer. We need one on either side. I have to split each spacer in half so it will fit on my 3D printer bed. I start with a sketch on paper before I reach for the keyboard.
I use Linux for the most part these days. I figured FreeCad was a good place to start. The design for the spacer is pretty simple - two spacers a side, each with equally spaced blocks. FreeCAD seems quite involved - fortunately I didn't need to use many of the advanced features. I still have issues with understanding the constraints system in freecad; it's often not easy to see why a particular design is not fully constrained. Nevertheless, I managed to get a reasonable design together. All it took was a quick 2D sketch, setting the dimensions then a 3D extrude.
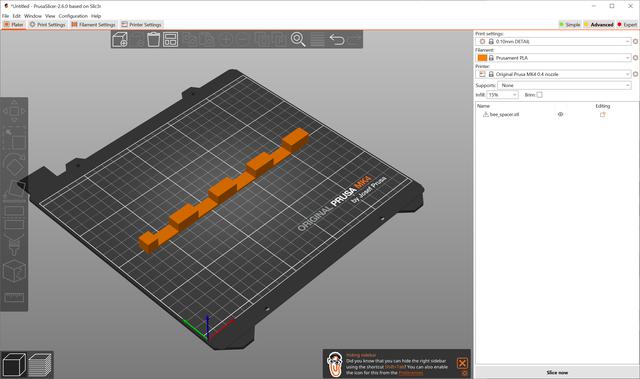
The next step is to take this 3D object and covert it to the file format that the printer needs. I use PrusaSlicer to take the STL from FreeCAD and create a sliced GCode file. I use a little Ender V3 printer with some AnyCubic filament and it seems to work pretty well.
A little tip if your 3D print doesn't stick to your bed. I've found that using PrittStick or an equivalent glue on the bed of my printer makes things go a lot easier.
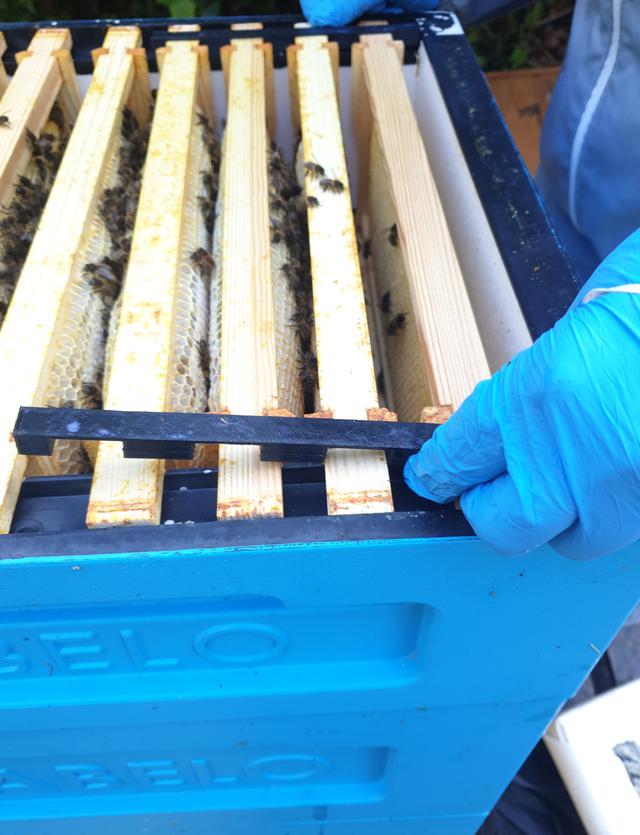
The first test of the spacers went fine, but they seemed a little too wide. Thankfully, it's pretty easy to make small adjustments and print again. That's the beauty of 3D printing I suppose. Making the spacers narrower involved changing one number, then the model was ready. The second version worked a treat! As part of our normal bee inspection, we donned our bee suits, got the smoker lit and headed down to the hive to check over the frames and fit the spacers.
Our bees are fairly placid - they tend not to get aggressive at all, which is good for us as beginners. Now that it's Autumn, heading into Winter, we've put in the mouse guard and tied down the hive. All that's left to do is to keep weighing the hive to make sure they've got enough sugar to get them through winter. If they make it out the other-side, I'll be happy.
Bee hives have been around for a while. We started off with Skeps (probably), progressing to wooden Langstroth frames, Smith hives and now we have polysterene hives. Ultimately though, the process and indeed the culture of beekeeping doesn't seem to change much, at least as far as I can see. Or perhaps it's more accurate to say that there's a long story going on. I can't really say progress as such - there are new problems to contend with such as the Varroa Mite, but new solutions are popping up. I heard recently that there's a chap looking at creating a smartphone app that will perform the Varroa count for you, using the phone's camera. Not bad eh?
So much new technology seems to follow dark patterns; it doesn't serve you - it serves someone else. It's not empowering. This argument is nothing new - I'd argue it goes back a very long way. But perhaps that means we need to look harder for the positives.
