In my first post I talked about some of the structural elements of the dome and cameras I chose to do the scanning. From here we move on to preparing the dome for scanning by improving certain elements such as a turntable and a skin.
There are two difficult steps in building a geodesic dome: the hubs and the skin. It's quite difficult to make a skin that fits seamlessly over a frame. There are various designs, and quite a few are terrible! I've never really seen a good, amateur attempt at creating a good surface on a dome. However, I thought I'd give it a try.
Skinning a dome is important because reconstruction software tends to fail if the background is complex. This is doubly so if you are using a turntable (which is the general way of scanning small objects). So we need to mask out the background. We can do that all manually, or we can make things easier on ourselves by using a skin. Another effect of the skin is to soften the harsh LED lighting, converting the spots to something a little more diffuse.

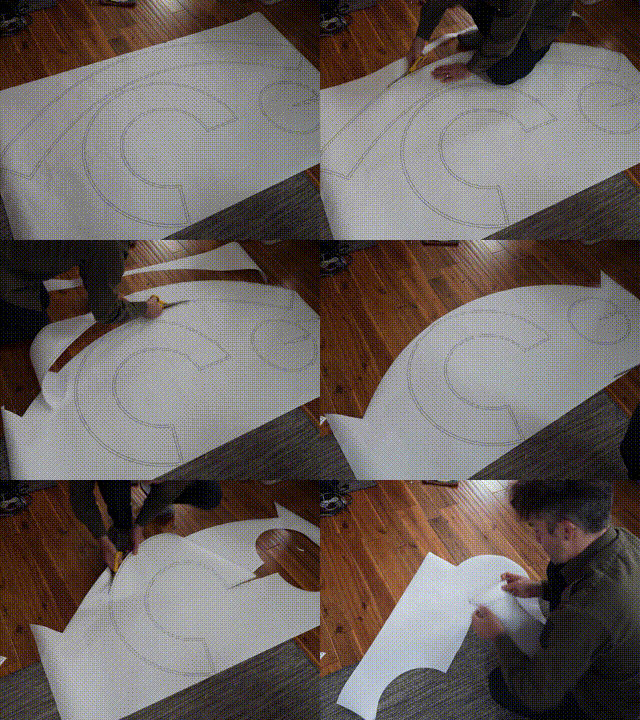
I decided to use 3 levels of cone which approximates a sphere. The idea is to stitch these together, suspend the skin from the inside of the dome and poke the cameras through at each nodal point. To start with, one needs to do a little maths, figuring out how wide each cone needs to be, then unrolling each cone from 3D to 2D, printing off the final pattern then cutting the material.
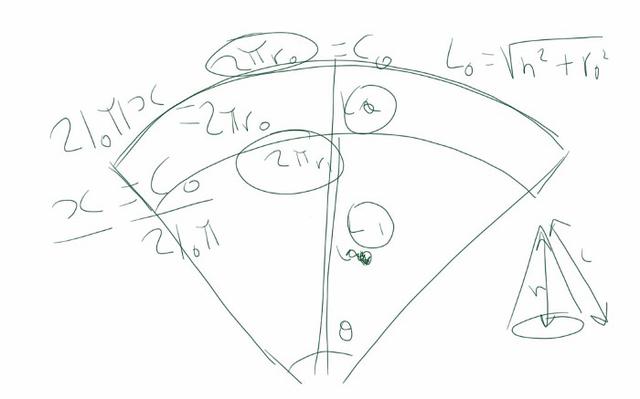
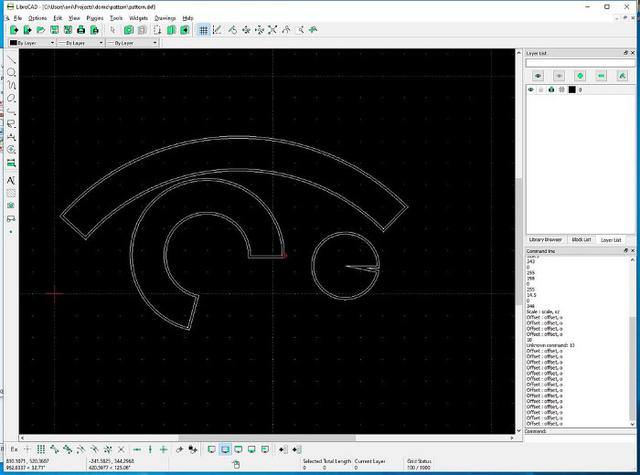
With the math worked out, I write all the equations into python and end up with a set of values I can use to create a sketch. I tend to use either inkscape or librecad when I'm coming up with cutting patterns (lasers or material or whatever). Librecad (in the case) takes a little time to get used to, but it works. I printed out the pattern at a FedEx office. They have large format printers that are reasonably priced. With the pattern cut, you can pin it onto your material of choice. I bought a roll of camera flash diffuser fabric from eBay. Use a very good pair of scissors! Anyone who sews will know what I mean! :D
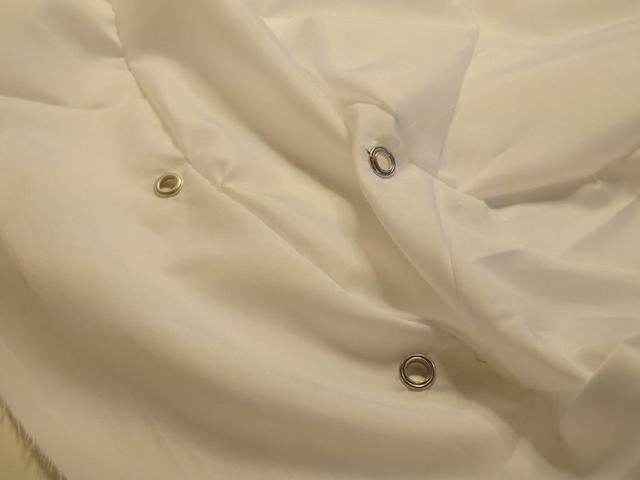
With the material cut, it's time to sew. It's worth making out where the nodal points will be, before we start sewing, just so we know where we need to add eyelets. I punch a hole with a hole punch, and use brass eyelets with a special tool that crimps the eyelets in place.
The skin is suspended from the inside of the dome using ribbon, which is hand sewn at various points around the skin. Pulling these taught and tying them off on the struts seems to work great.
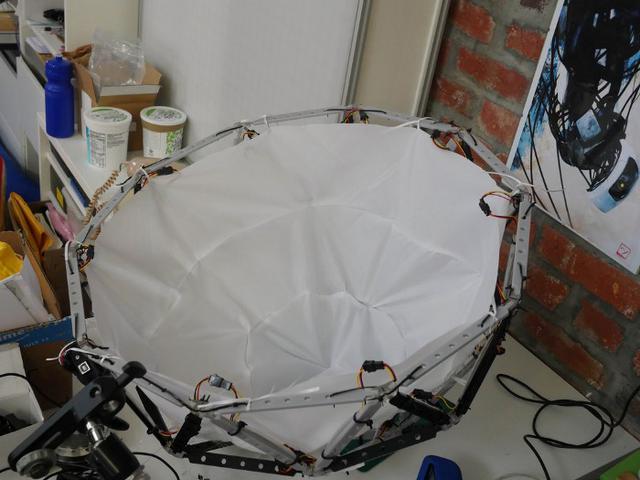
I'm reasonably pleased with the result. It's still possible to see the individual LEDs through the mesh, however the background is removed enough to make automatic masking possible, or at least make the manual mode much easier.

At first, I was using cable-ties in order to get the cameras attached. Sadly, this is not ideal. The cameras are mounted too far forward and in the wrong place. What is the best thing to do? Well, take them apart and use a load of Gorilla Glue!

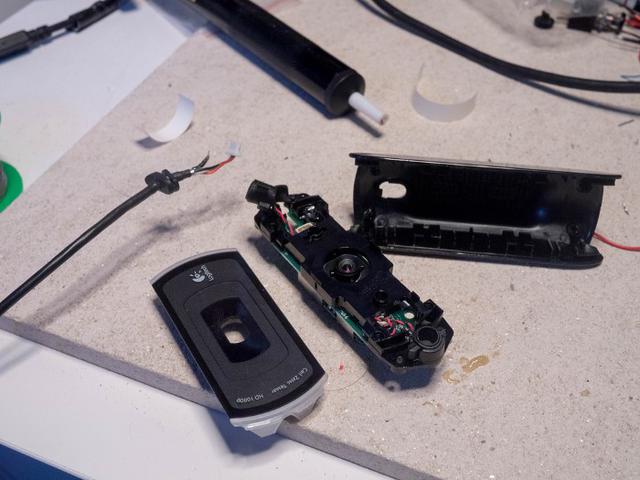
It turns out that the C910 can be taken apart reasonably easily. Once the clamp and outer casing is removed, there appears to be a metal plate at the back. This is perfect for mounting a nylon M6 bolt on the back. Using Gorilla glue, I can get a reasonably good join. It's important to keep an eye on the bolt as it dries; we want it to be perfectly straight. This would lead to problems later on with adjusting the view from each camera.
With the cameras in place, I decided to try a test scan. The results were somewhat disappointing. The final mesh could not be created. It turns out we need many, many more cameras than 8 or so. With that in mind I decided I should try a turn-table.
Looking on ebay, it is possible to get hold of turntables for cakes, jewellery and other things you might want to display in a shop window. Some are really cheap, others are surprisingly expensive. I bought one for around $60 or so. It's reasonably flat (at least for the price-point). I wanted it to be as low as possible so as to not limit the size of the objects we can scale.
With a turntable, we can use many few cameras; I got away with just 3 C910 cameras mounted on the dome.
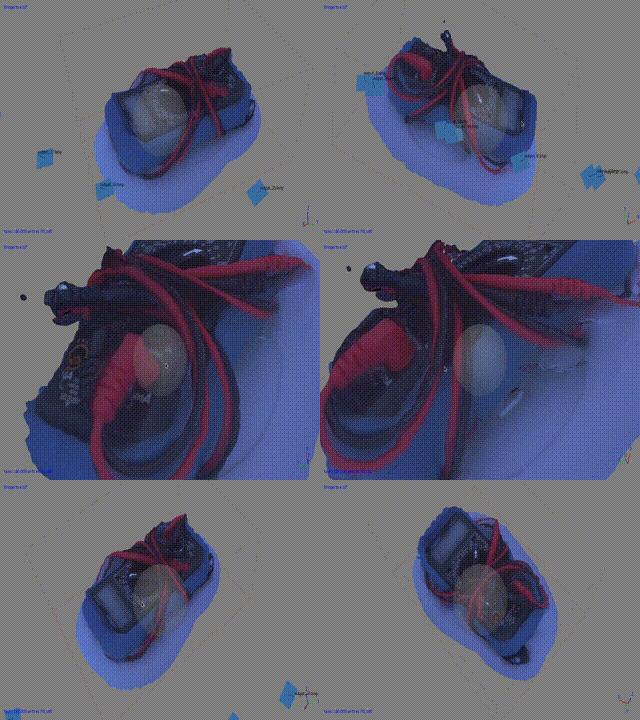
The key advantage of getting the lighting right is that you get a consistent surface reconstruction that can then be properly lit inside whatever program you write. You want to remove as many shadows as possible. It's easy to see why the professionals spend a lot of money on fancy light-boxes to get every part of the object evenly lit.
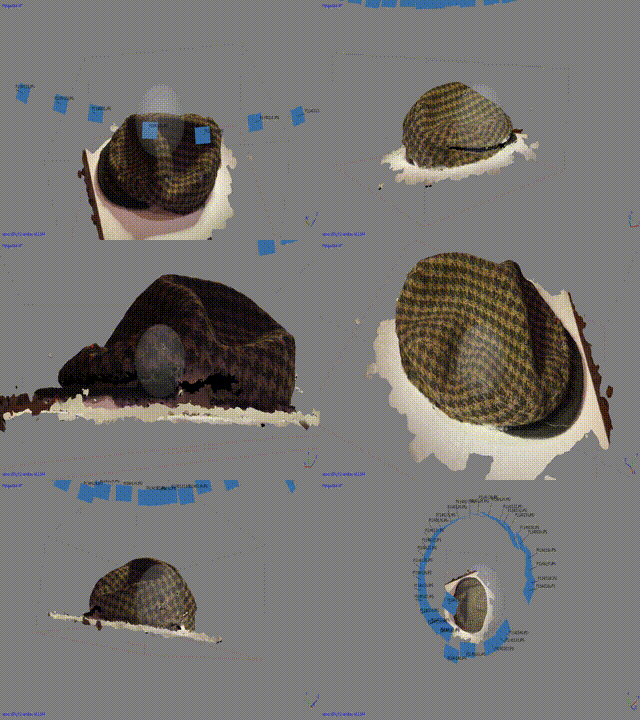
In our next post I'll talk about ways we can improve the scanning, what went wrong with the design, which bits can be improved (and have been improved) and where we go from here.
